 EN
EN
 PL
PL
Creating a user
The hosting-panel user account is the customer account. All hosting spaces (and any related add-ons) are assigned to it, and all service notifications and invoices (if handled by DCS) are sent to the addresses associated with this account. To view all users, choose the “Customers” link from the left navigation menu:
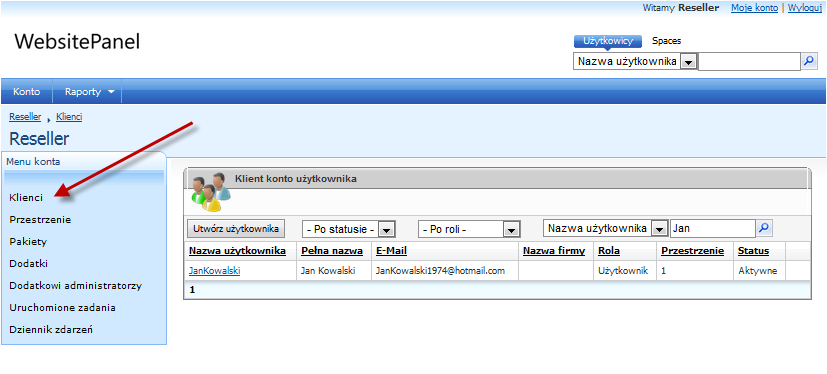
To create a new user, click the Create User button:
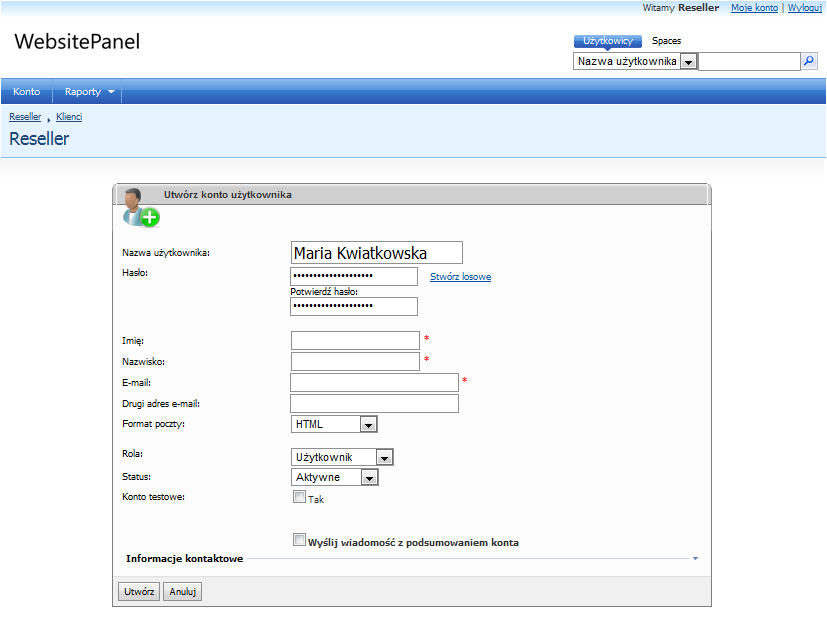
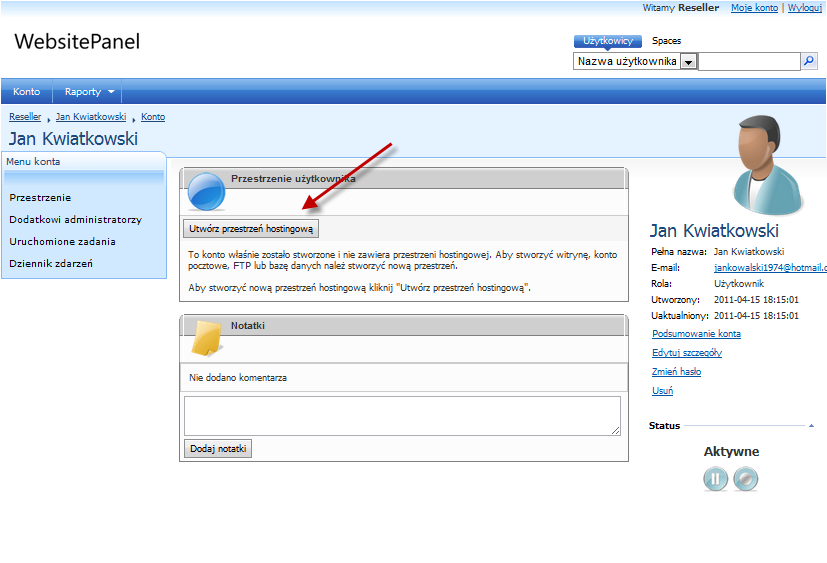
You must enter the user name, first and last name, email address and the password twice. After the account is created you are redirected to the user’s home page:
It is recommended to allow the panel to send an email with information about the newly created account.
Creating a space
For the user to be able to consume services you must create a hosting space. On the user’s home page (see figure above) click Create Hosting Space. In the wizard, choose one of the available hosting plans. It is recommended to disable Create space resources (the space will be created empty, without any domains or default resources).
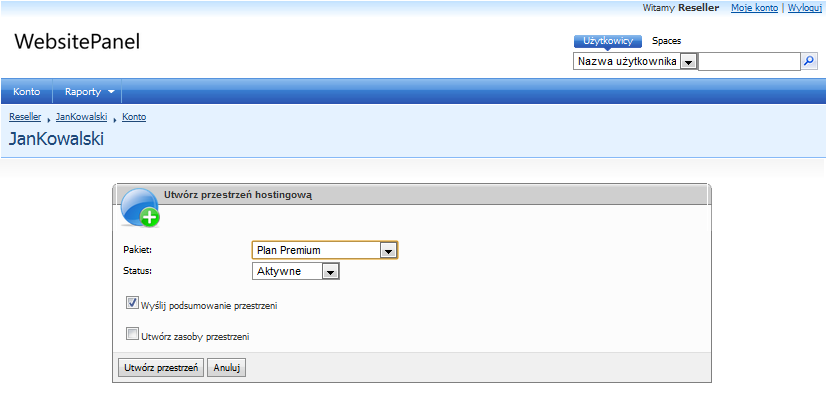
Select the space status (normally it should be Active), choose whether an email with a summary of the resources should be sent (recommended), and click Create Space.
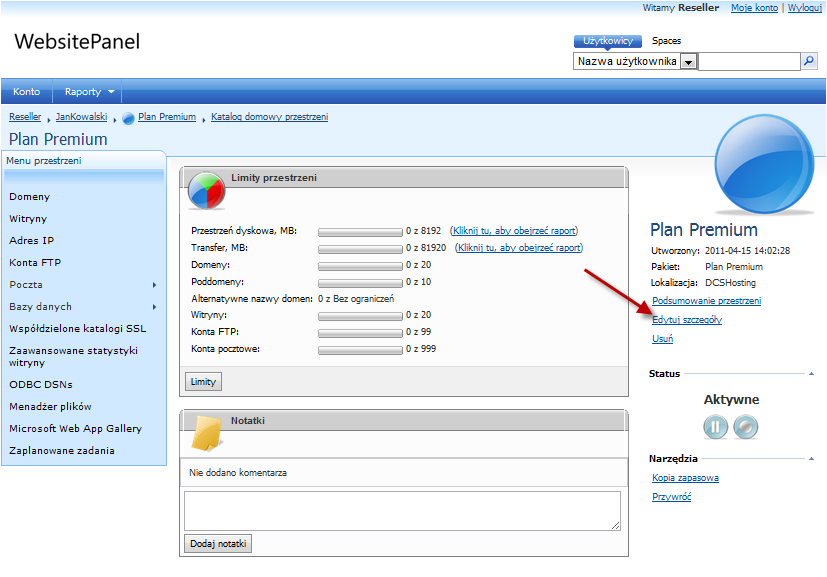
Customizing the space
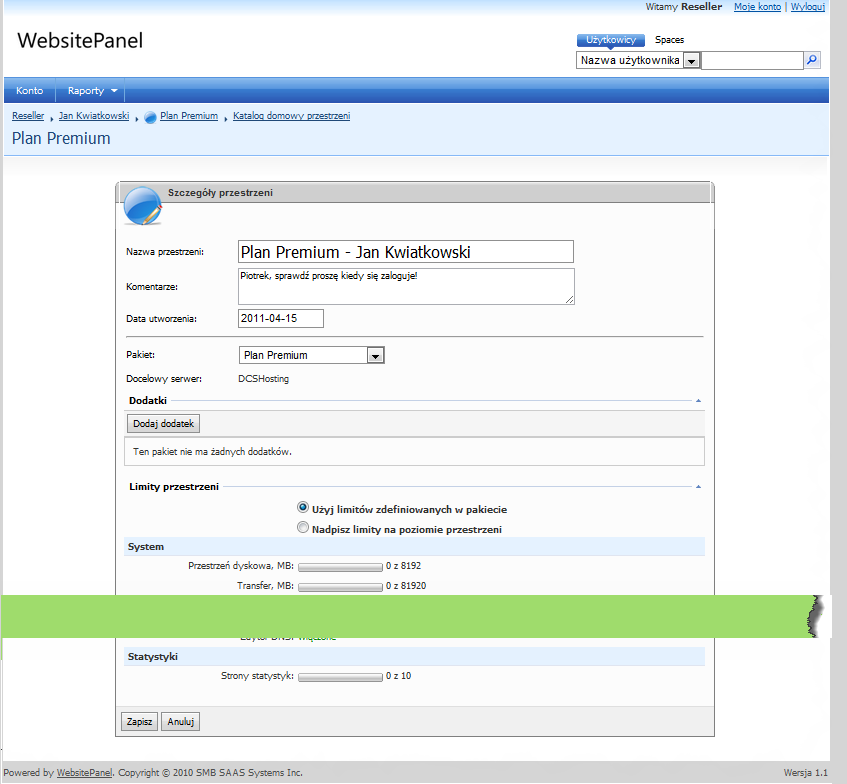
After the space is created you should rename it (this later helps identify which client the space belongs to). By default the space name equals the hosting plan chosen at creation. To rename the space, on the left menu while inside the space choose Edit Details:
Change the space name and click Save. Changing other plan-derived settings is not recommended.
See also