 EN
EN
 PL
PL
Publishing applications using Visual Studio (DPA)
To publish an application with Visual Studio, open your site’s properties and choose Web Publishing.
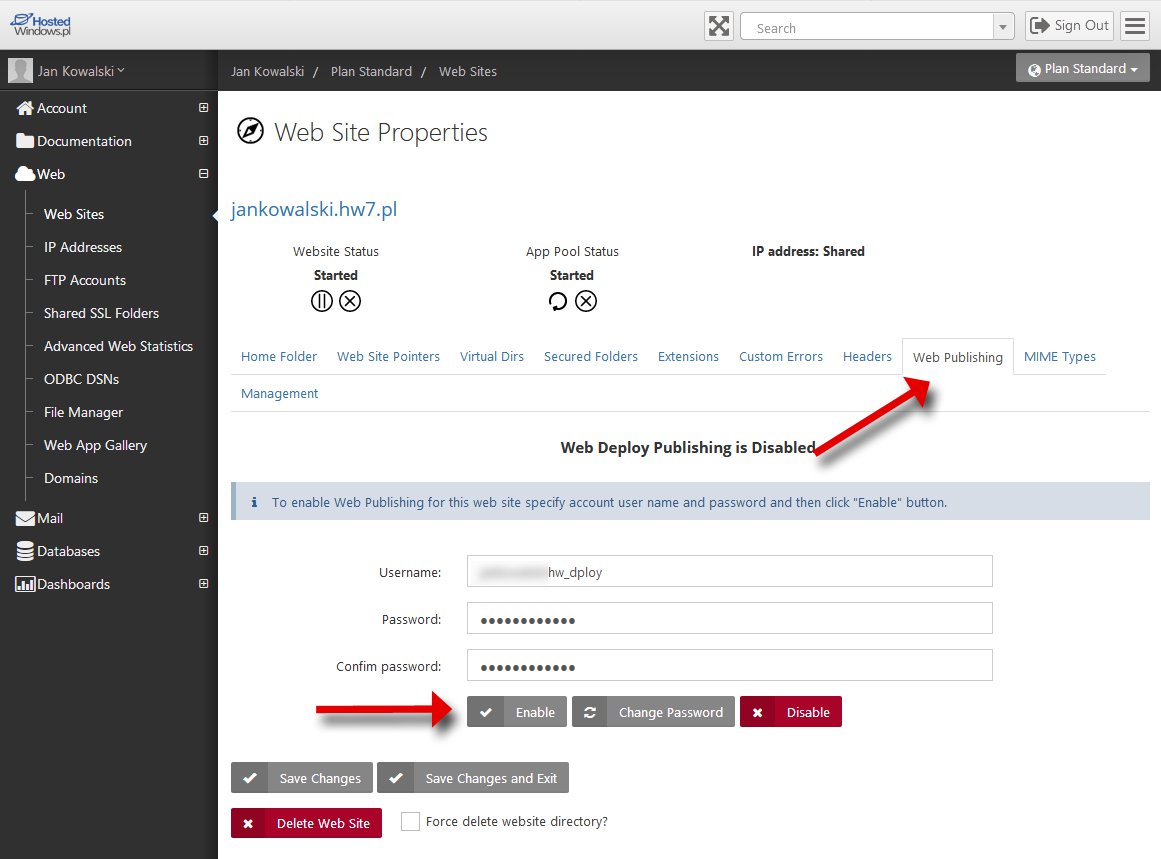
The User field is generated automatically from the application name.
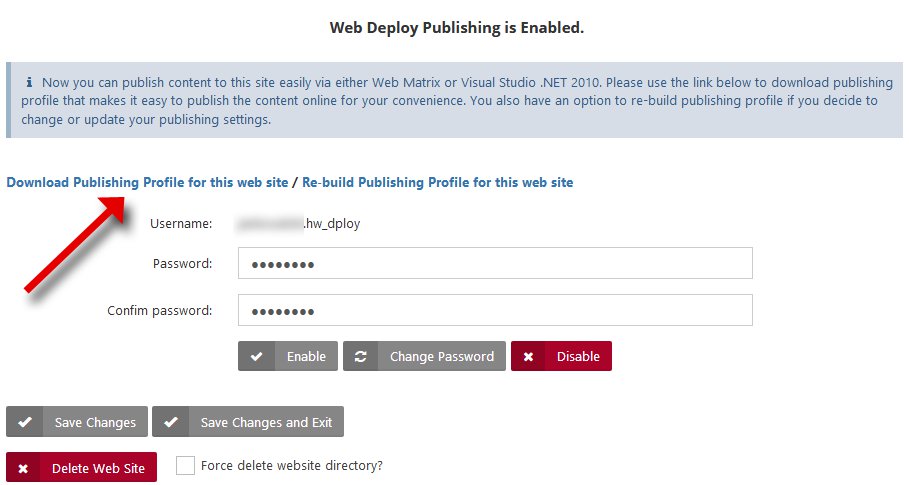
Enter a password and click Enable; after the publishing option has been enabled you should see the confirmation below.

Next, download the publishing profile (Download Publishing Profile for this web site). You will import this file in Visual Studio.
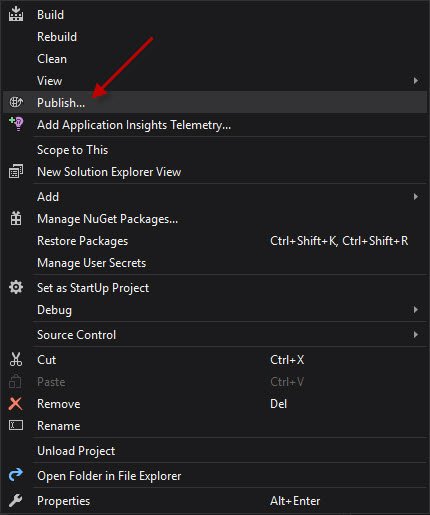
In Visual Studio, right-click your project and select Publish…
Under Select a publish target, choose Import and browse to the previously downloaded *.publishsettings file.
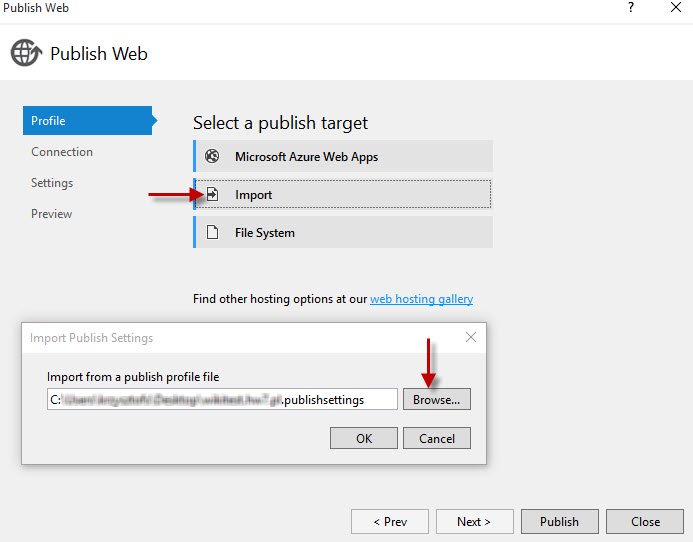
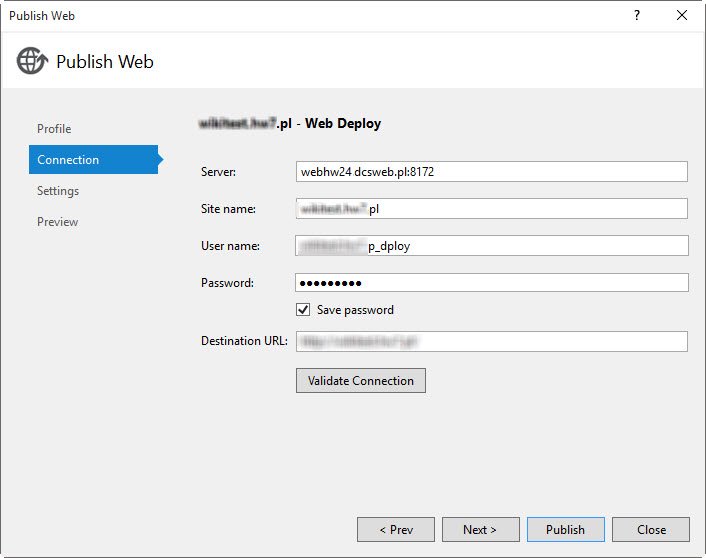
The Connection section is populated automatically from the imported *.publishsettings file.
Adjust settings on the Settings tab as required.
Finally, click Publish.
Note: If you encounter issues publishing directly to our server, verify the user-permission configuration in Visual Studio. A detailed explanation is available in this article: Prevent Visual Studio 2010/12 and Web Deploy From Changing ACLs.