 EN
EN
 PL
PL
WordPress installation
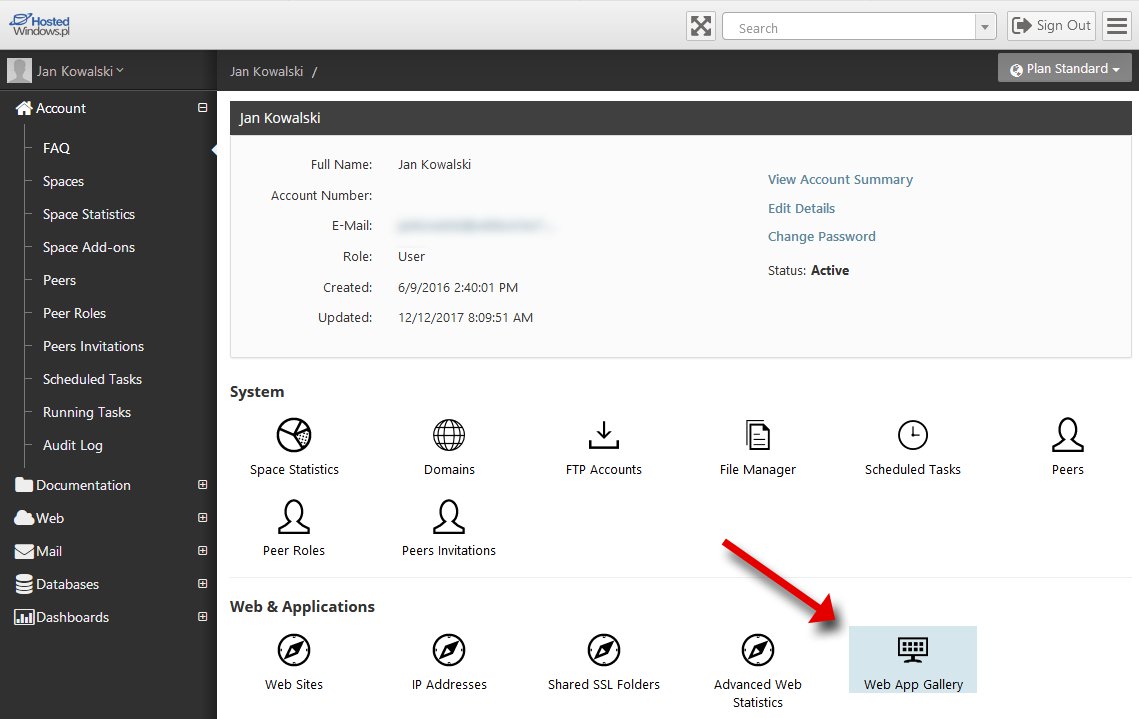
In the space menu select Web App Gallery:
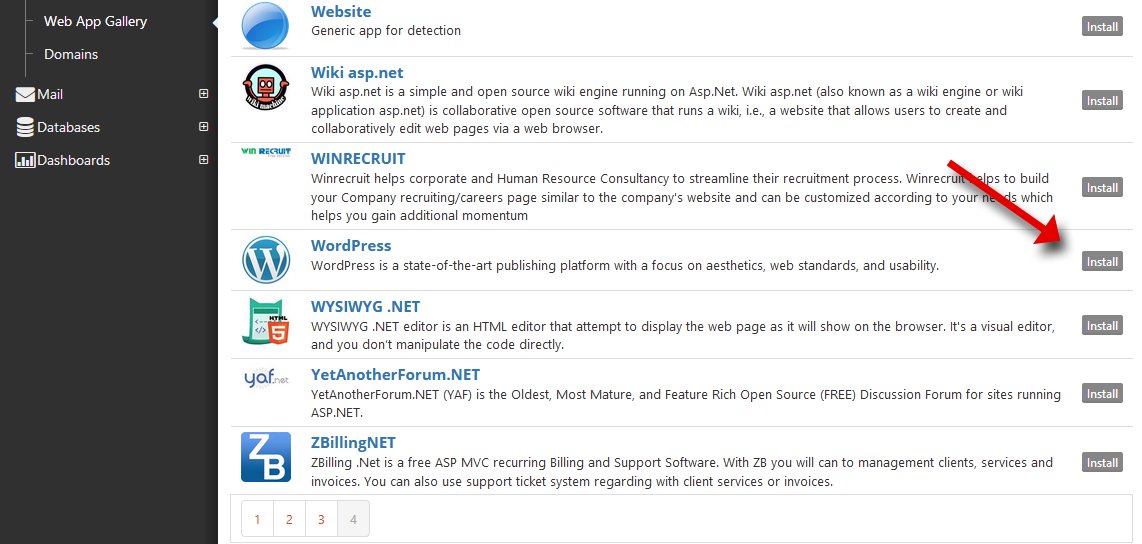
Use the search box to look for “WordPress” and click Install; in the next window click Next.
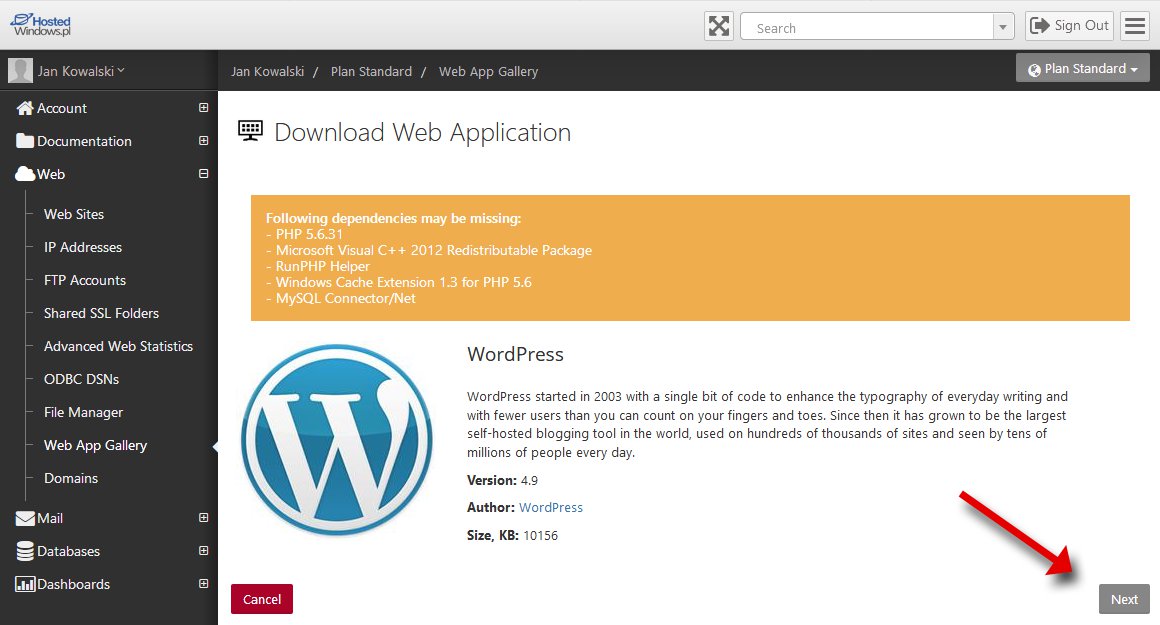
In the Download Web Application window click Next:
Fill in the details:
• Site – select the previously created site on which you want to install WordPress.
• Application name – enter a name that will create a virtual directory for the application
(available at: http://yourdomain.com/app_name - or if we leave the field blank, it will be available directly at the website address, e.g. http://yourdomain.com).
• Database type – by default this is MySQL 5 (other database engines are not available).
• Create a new or use existing database – select an already created MySQL database (the installer cannot create a new one).
• Database name – select the previously created database from the list.
• Database user name – select the user previously created for this database.
• Database password – enter the password set for the above database user.
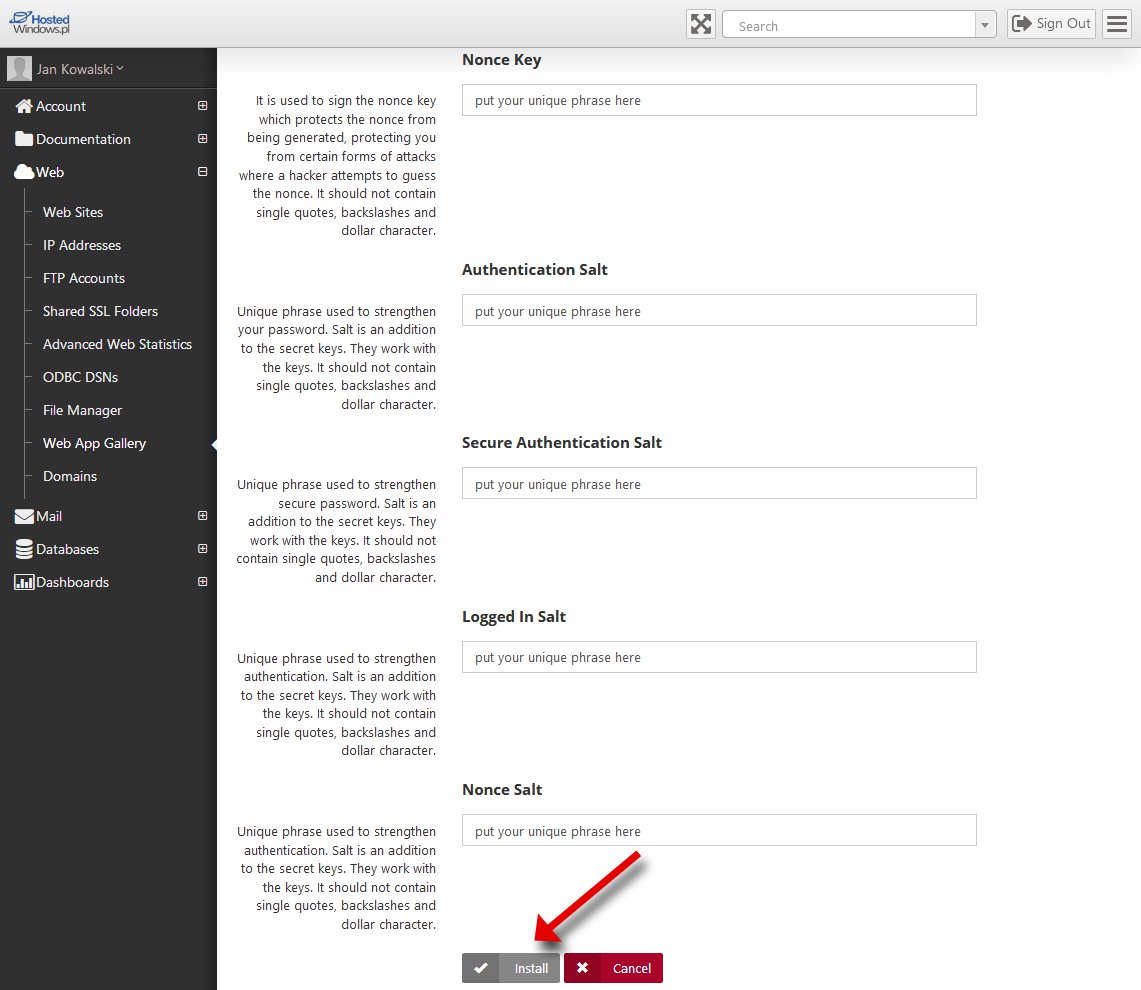
• Complete the remaining fields as desired, or leave the defaults.
• When everything is filled in, click Install.
If the installation completes successfully you will see the window below; click Launch WordPress.
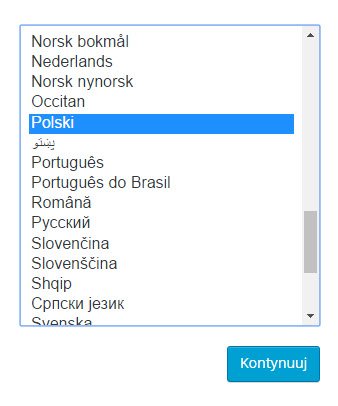
• You are taken to the language selection screen; choose a language and click Continue.
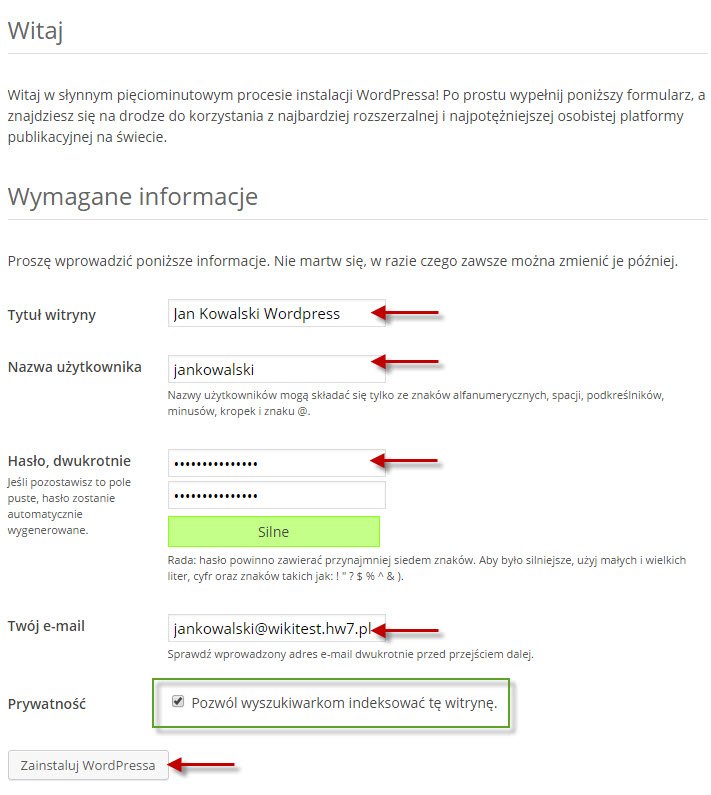
• Enter the required information and click Install WordPress
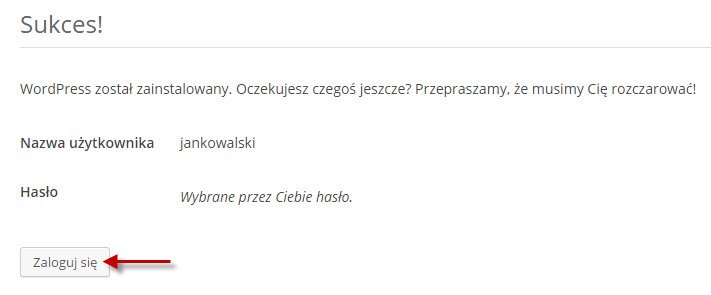
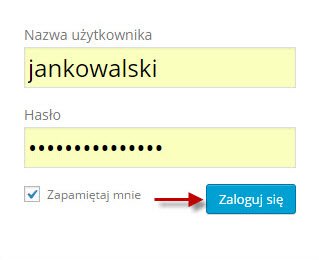
• Log in to WordPress using the credentials you provided earlier.
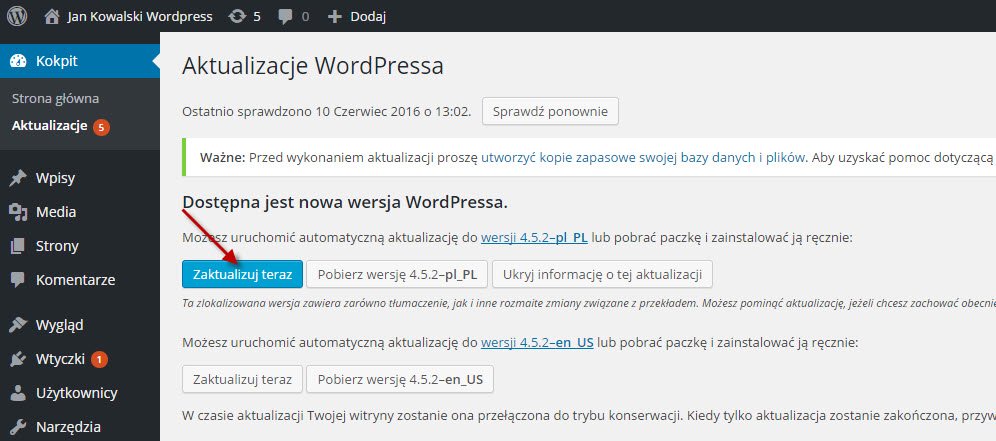
• After logging in you will see the WordPress dashboard and an update notification.
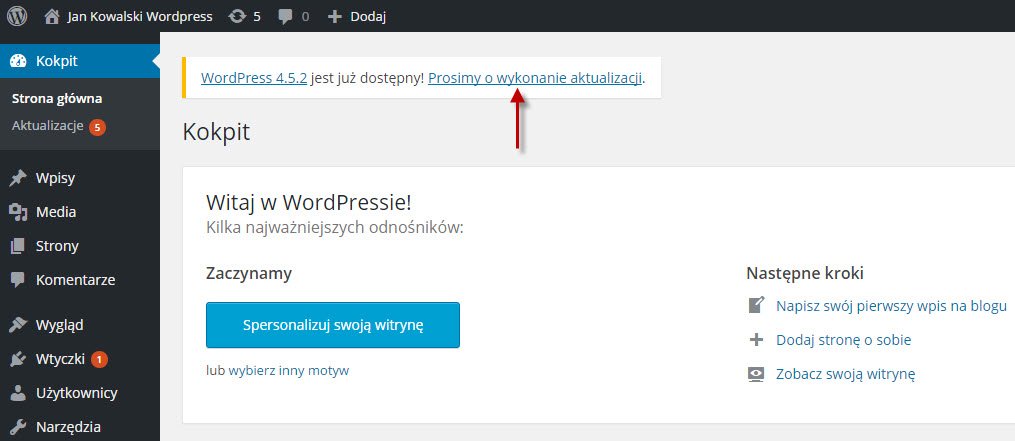
• NOTE! BEFORE CLICKING “PLEASE PERFORM THE UPDATE”, YOU MUST ENABLE “WRITE PERMISSIONS” IN THE SITE OPTIONS. Follow the steps below:
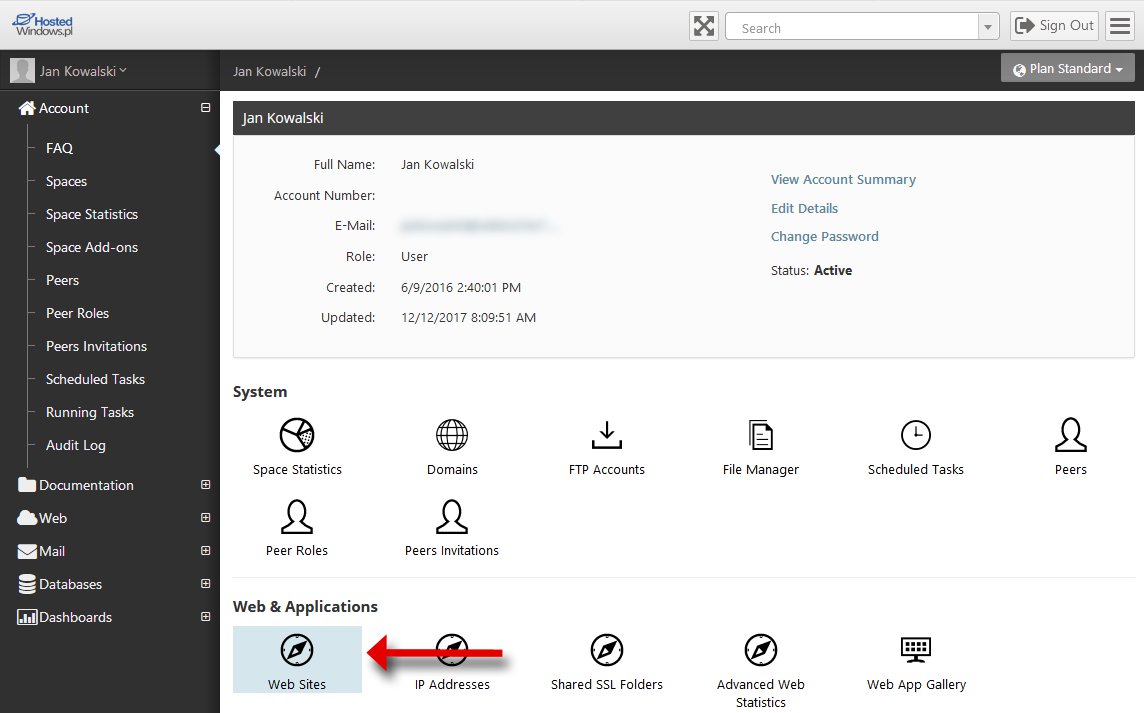
• After logging in to the panel at https://panel.dcsweb.pl, choose WEB SITES
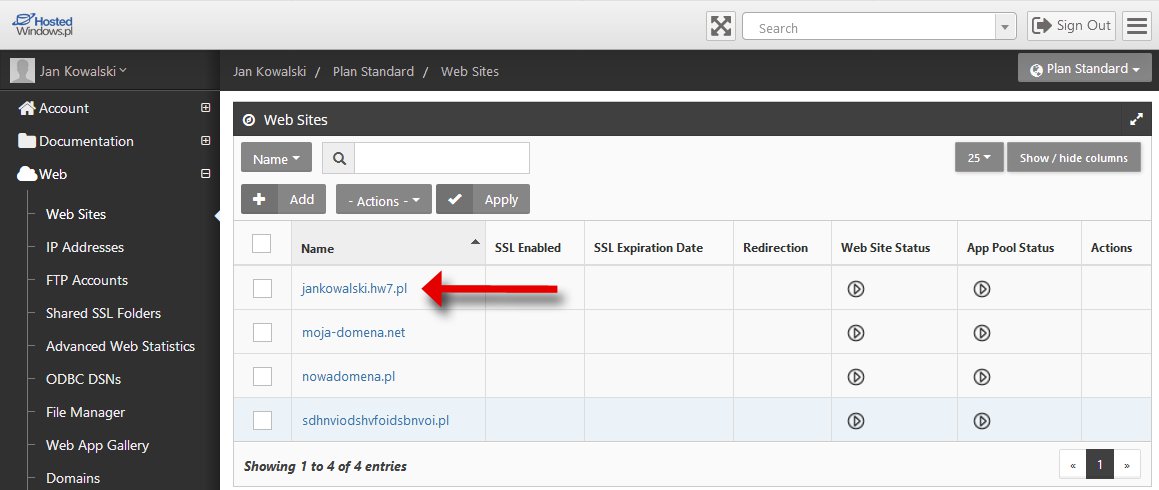
• Select your site.
• Check Enable write permissions and click Save changes
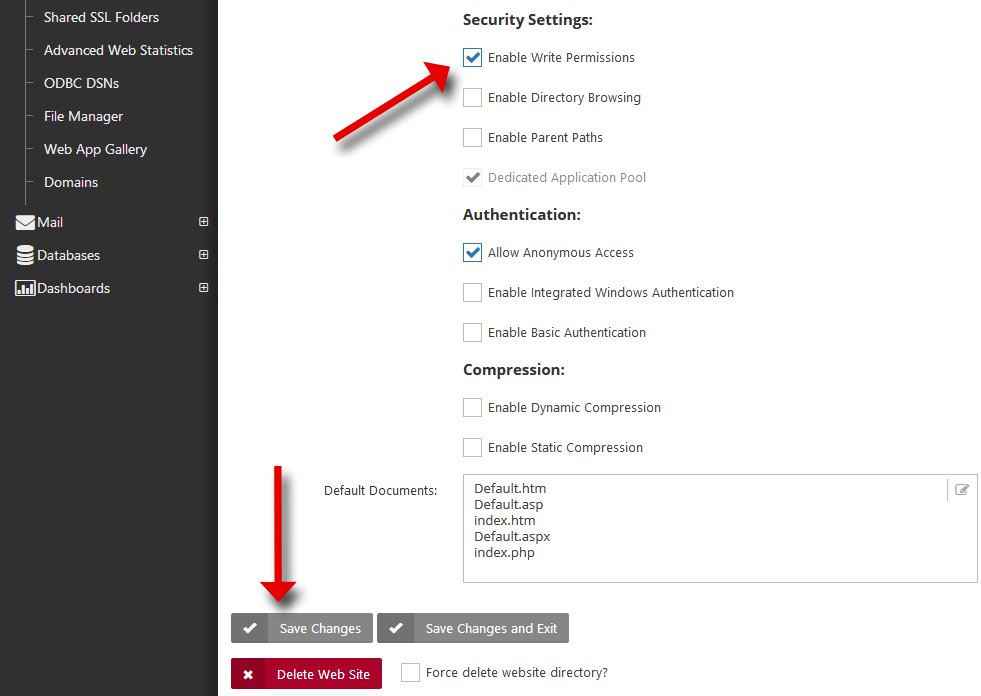
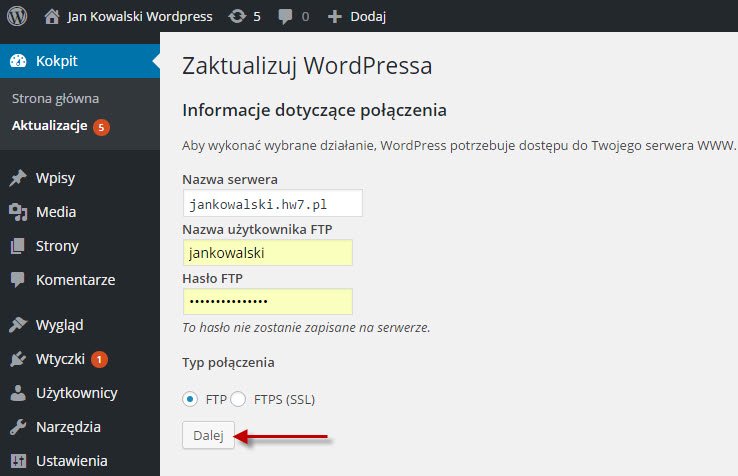
• You can now return to the WordPress dashboard and click PLEASE PERFORM THE UPDATE followed by UPDATE NOW.
• Updating requires an FTP account. If you do not have one, you can create it in the panel
Important hints
The application will be available at http://yourdomain.com/app_name/ (if you provided an application name, creating a virtual directory) or at the default address http://yourdomain.com (if the Application name field was left blank).
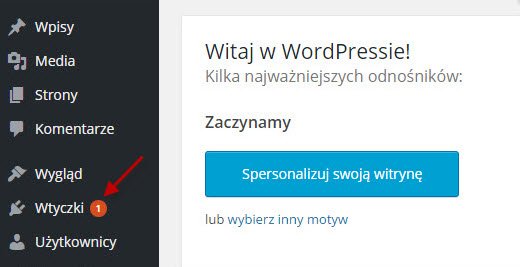
Plugin installation
Installing two plugins is recommended:
1. Comet Cache (an advanced caching plugin that speeds up the web site) https://wordpress.org/plugins/comet-cache/
2. WP Mail SMTP – enables sending email via SMTP from WordPress (reconfigures the wp_mail() function) https://wordpress.org/plugins/wp-mail-smtp/
• Install plugins after completing the WordPress installation. In the WordPress dashboard, click Plugins.
```